
Joe’s Bread
Categories: Recipes
Related show
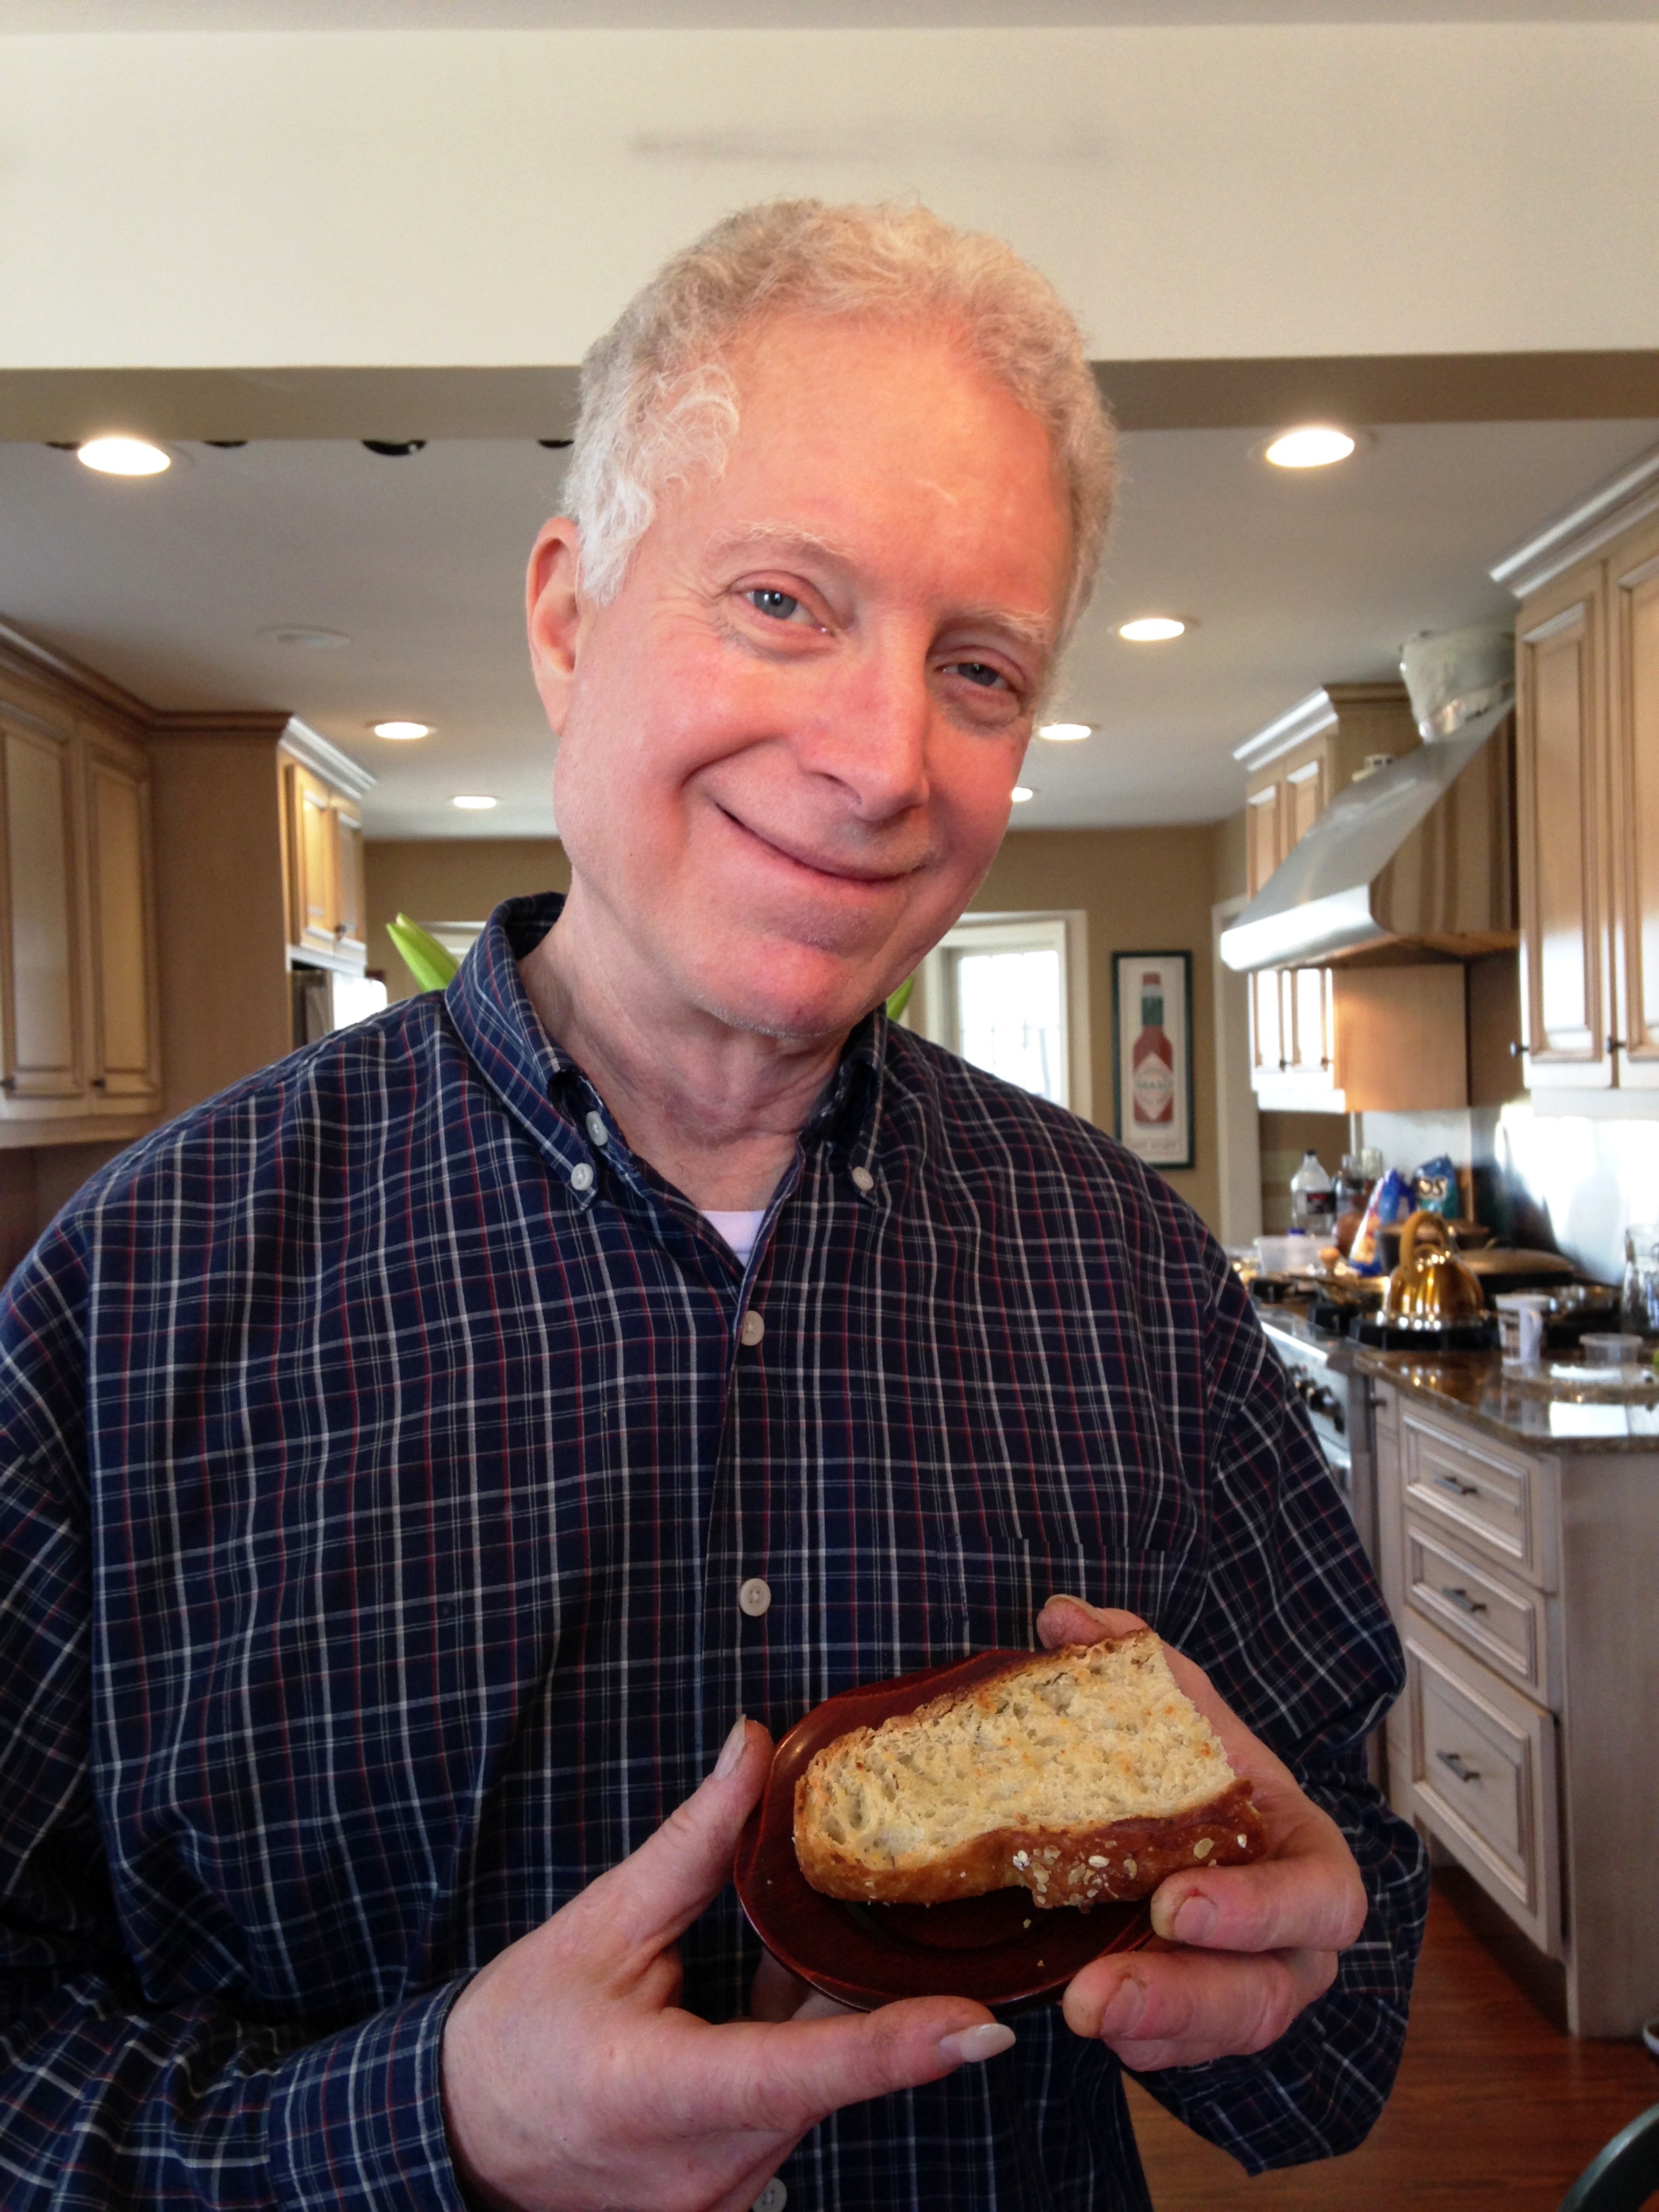
Joe Cullison and bread
Joe Cullison made some fantastic bread the last time I played at his house concert & pot luck in Macon GA, and kindly offered to share the recipe with you! I’ll be back Sat Feb 11 http://www.acousticproductions.com/ and… I hope he bakes this bread again!
Recipe Techniques: with cheese and Poblano peppers added. (For plain bread just leave out the cheese and peppers)
Step I – The mixing Phase
1 Get a medium bowl and dump 3 cups of bread flour into it. Does not have to be measured exactly. I use King Arthur brand bread flour.
2 Add 2 heaping tablespoons of Gluten. It is somewhere in the grocery store probably in the baking section. (Don’t stir yet)
3 Add 1 + 1/4 teaspoons of salt.
4 Add 1 palm full (maybe 1/8 cup) of course ground yellow corn meal. I use a little bag of Goya brand sold in the flour/cornmeal section. It might be in the International section.
5 Add a rounded 1/4 teaspoon of rapid rise active yeast. (Any kind of bread yeast will work)
6 Add about ¼ (to taste) cup diced fresh Poblano peppers. I usually dice them to about the size of a corn kernel.
7 Add 1/3 cup of coarse grated sharp cheddar cheese.
8 Add 1/4 teaspoon of Italian seasoning.
9 Add 1 + 3/4 cups of lukewarm water.
10 Stir, clockwise only, using the handle of a wooden spoon. It will seem too dry at first, and like the handle is not doing enough, but it will be OK. Stir it for about 45 secs and try to coax the rotating wad of dough toward any rogue ingredients that have not joined the party. Stop stirring at 1 minute or when it seems fairly mixed – whichever comes first. It does not have to be mixed into a completely homogenous ball. Just try to get any dough stuck on the sides to join the ball. The recipe is very forgiving and this bowl of stuff is going to bog down into a nice yeasty swamp anyway.
11 Cover it with a lid or Saran Wrap and let it sit on the counter until tomorrow. It needs to sit for 12 hours minimum. The longer it sits, the better it tastes. I usually go for 16 hours. I often mix it at night, before I go to bed, and cook it the next afternoon or evening.
Step II – The Squashing it Down Phase – 16 hours later…
1 Cut a piece of parchment paper about 1 1/2 feet long x whatever the large size roll is. 18’ x 16’, I reckon. Put it on the counter with something to hold the corners down or it will piss you off by rolling up all the time.
2 Sprinkle a handful of Quaker-type rolled oats (or any grain you like) onto the parchment paper in the middle one foot square area of the parchment paper. Random coverage desired.
3 Likewise, sprinkle a small palm full of the coarse yellow cornmeal in same area.
4 Also, sprinkle about 1/2 teaspoon of medium coarse salt (or table salt, if that is all you have) into the same area. This bread recipe cannot chemically tolerate the amount of salt that would normally be included in kneaded bread. I compensate for this by sticking salt to the outside crust. You can adjust this amount to your taste in future trials.
5 On a clean counter surface, near the parchment paper, make a little 1/3 cup pile of bread flour and also sprinkle flour on a 16” x 16” area to receive dough dump. Get the bowl of dough. Remove cover. Admire yeasty swamp. Get a generous coating of flour on your left hand. Hold the bowl up over the floured counter as if you are going to pour the dough onto counter. Begin doing so, and use your floured hand finger tips to loosen the dough from the top side of the bowl by poking at it and coaxing it to fall – as together as it will stay – onto the floured counter landing zone. You will have to re-flour your fingertips every few seconds or the dough will stick to you. You can do this with an icing spatula but I like to feel the dough with my fingers.
6 Flour both hands covering very well. Using about four mashes, push down on the dough (re-flour hands if sticking) to get some of the air out of it. Precise does not matter. Now, loosen one edge of the dough and fold it half over onto itself and mash down once or twice. Now, fold it (from 90 degrees off) over on itself again so that you now have sort of a folded wad about 1/4 the footprint that it originally was. With plenty of flour on your hands, work your palms under the dough and pick it up into a ball. Try to locate the side with the most seams and rotate it around until this is on the bottom. It will be sloppy and blobby and will try to waterfall out of your hands so try to keep it contained in your hands as best you can. It will be like trying to hold up a sloppy water balloon that is a little too big to hold. As fast as you can, try to stretch the seams together toward the bottom. You are trying to define a seamless top dome on the blob and at the same time gather the seams together on the bottom. All this takes about 15 seconds to do and you may be dumping it sort of back and forth between hands as it tries to blob away from you. Once you have sort-of accomplished this, set it seam side down onto the center of the parchment paper. Whatever level of success you had in the preceding steps will suffice.
7 Put the bowl in the sink and fill it with water. Wash dough off of hands.
8 You now have a wet dough blob sitting on your parchment paper with oats and the rest under it and around it. Perfect. Pick up the sides of the parchment paper and place the dough into a large bowl. Shoot a quick spray of PAM Olive oil on top or wet some olive oil on your finger tips and dab it on. Take scissors and using little snips – snip a large X into the top of the dough. This allows it to rise and expand more freely. Cover the dough again. The parchment paper can stick out from under the lid. (That is better than having it get stuck in the dough.) Let it rise again for 1-2 hours. Remove salted butter from fridge and set aside.
Step III – The Baking Phase – Burn Hazard!
1 You need 30 minutes lead time for preheating the oven so turn the oven on to 500 degrees after dough has been rising for 1 + 1/2 hours on the second rise. Place cast iron Dutch oven, with lid on, into the oven. Center rack.
2 After Dutch oven has heated for 30 minutes, you are ready to do the fun part. It helps to have an assistant. REMEMBER THE OVEN MITS. The Dutch oven is smoking hot!
3 Remove the lid from the dough. Take scissors and using little snips – snip a large X into the top again. The uglier the snips, the more artsy the bread will look. sprinkle about ¼ teaspoon of salt over the top of the dough. Also sprinkle some more oats on top
4 Find a surface where you can put the smoking hot Dutch oven and its smoking hot lid once you remove it. Place bowl of dough nearby with lid off. Wearing the hot pads, remove the Dutch oven to landing zone. Remove the lid and set beside. You and assistant pick up the 4 corners of the parchment paper and gently transfer the dough and parchment paper into the smoking hot Dutch oven. REPLACE OVEN MITS ONTO HANDS, IF REMOVED, and put the lid back on the Dutch oven. Put the Dutch oven back into the oven-oven and turn temp down to 450 degrees. Start a timer for 25 minutes.
5 After 25 minutes, remove the lid from the Dutch oven. Remember to place it somewhere where folks won’t accidentally touch it because it will be hot for a long time. Set timer for 20 minutes.
6 After 20 minutes, check the bread for brownness on the top. You can remove it now or leave it in for 5 or so minutes longer until the look of the crust suits you. After removed from oven, immediately remove bread from Dutch oven with a spatula and place on a cooling rack. Turn oven off.
7 If you are not ready to eat it, leave it on the cooling rack. If you are ready to eat it, after it cools for 3 or 4 minutes, put it on a cutting board. The crust will be very tough so you will need to find a good knife that will cut it. A bread knife is not always best due to the toughness of the crust and the softness of the bread. If you try to cut it with a dull knife, you will squash it. Not good. I have the best luck with a long serrated meat knife. It saws better without pressing down than does the bread knife. Go figure. Experiment with what you have. The bread is now ready to eat. : – )
Notes and observations:
You really can’t screw it up. Adjust the technique and ingredients to suit your preferences. Because you do not knead it, you can add almost any ingredients and they will retain their identity in the finished product without screwing up the dough development.
I have often grabbed for the hot Dutch oven lid and just barely in time realized I had removed my hot pads mitts. The 500 degrees is VERY unforgiving.
I have never had any problems with the parchment paper even at 500 degrees. Using it makes the dough transfer go much more smoothly and keeps the dough puffier resulting in a taller loaf.
If you want cheese on top, I’d suggest adding it on top of the bread about 5 minutes before you think it is done. Earlier than that and the cheese gets too dry or burnt.
If the center is too moist and seems a little undercooked, you can increase the lid-off cooking time by 5 minutes and see if that cures it. Or you can increase the lid-on time by 5 minutes. One or the other will fix it.
Don’t be scared of the extra gluten. It is the secret to making the bread rubbery and stretchy. The more the merrier.
Using salted butter helps make up for the less salt in the recipe.
If you are going to have more than 2 people around when the bread is finished, make 2 loaves or you might not get any.